Flow creator
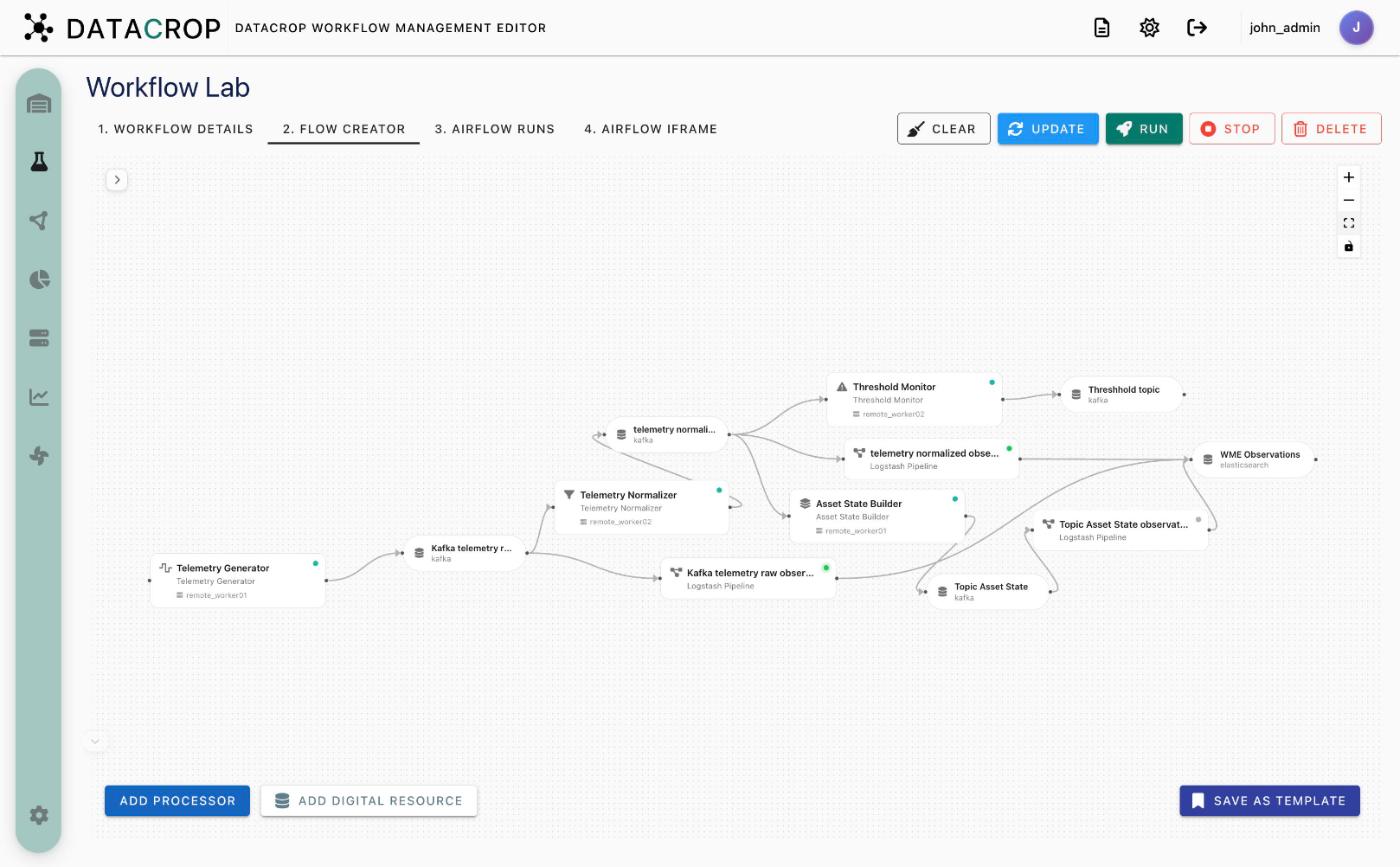
2. Flow Creator is a canvas (pan, zoom, fit view) with a collapsible Presets panel on the left.
Add nodes
- Processors — drag a definition from Presets → Processors (grouped by category), or click Add Processor.
- Digital resources — drag one from Presets → Digital Resources, or click Add Digital Resource.
Processor cards show the processor name, its definition and the worker it runs on. A badge in the corner tells you how it runs: the Airflow badge marks a scheduled processor deployed by Airflow; the Logstash badge marks a continuous pipeline that runs outside Airflow while active. Resource pills show the resource name and interface type.
Connect
Drag from one node's handle to another:
| Link | Effect |
|---|---|
| Resource → Processor | Adds the resource to the processor's Data Input. Allowed only if the processor supports the resource's interface type. |
| Processor → Resource | Adds the resource to the processor's Data Output (same compatibility rule). |
| Resource → Resource | Not allowed. |
| Processor → Processor | Opens Connect processors: pick an existing resource compatible with both, or create a new one; the editor inserts it as processor → resource → processor. |
While you drag, valid targets are highlighted and invalid ones are dimmed.
Edit and delete
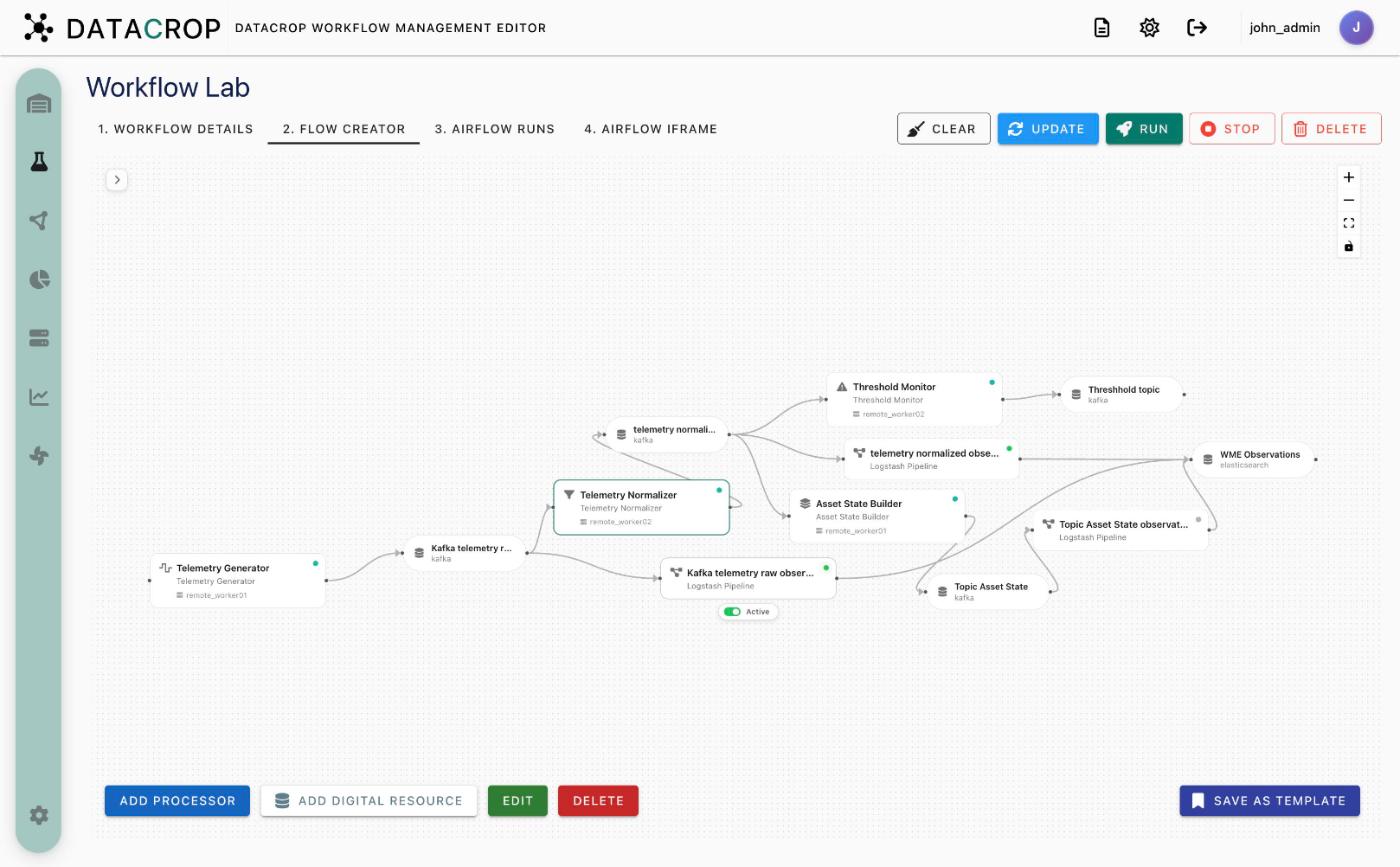
Double-click a node (or select it and click Edit) to open its form — see Configuring processors. Delete removes the selected node or edge.
Logstash pipeline nodes
Hover a Logstash Pipeline node to reveal its Active / Paused toggle. Paused pipelines have a dashed outline. See Logstash pipelines.
Create observations
Hover a digital resource that Logstash can read to reveal Create observations. It adds a pipeline that records every event of that resource as an observation. See Observations.
Save as template
Save as Template (bottom right) stores the graph for reuse from Warehouse → Workflows → Create Workflow from Template.