Quickstart
This page takes you from an empty host to a running workflow using the Maize MVP, which deploys every component on one machine. You will end with a telemetry generator publishing to Kafka, a stream inspector reading it, and its logs visible in the editor.
- A Linux host (or VM) with Docker Engine + Compose plugin and openssl. The Airflow installer warns below 4 GB RAM / 2 CPUs / 10 GB disk; the full stack (Airflow, Elastic, Kafka, Keycloak) is comfortable with 16 GB RAM.
- The host's IP address reachable from your browser. Ports used: see Ports and URLs.
1. Deploy the stack
git clone https://github.com/datacrop/maize-mvp.git
cd maize-mvp
cp .env.example .env
# edit .env and set HOST_IP to the address your browser will use
./setup.sh        # choose option 1 (deploy everything)
setup.sh generates the shared secrets, writes every component's .env, creates the maize-wme-network Docker network and starts Keycloak, the backend (with MongoDB, Elastic, Kafka and AKHQ), the editor, Airflow and a local worker. Details: Maize MVP.
2. Log in
Open http://<HOST_IP>:5173 (or http://<HOST_IP> if you set UI_PORT=80) and sign in through Keycloak with admin / admin (change it afterwards in the Keycloak admin console on port 8180).
3. Initialize your catalogue
Go to Settings → Application Preferences → Initialize Resources and click Initialize. This seeds, for your user:
- the 9 data interface types and 9 data kinds,
- the Worker asset category,
- the built-in Logstash Pipeline and six ready-to-run GitHub processors,
and imports any Celery workers it can already see. Run it once per user.
4. Register the worker
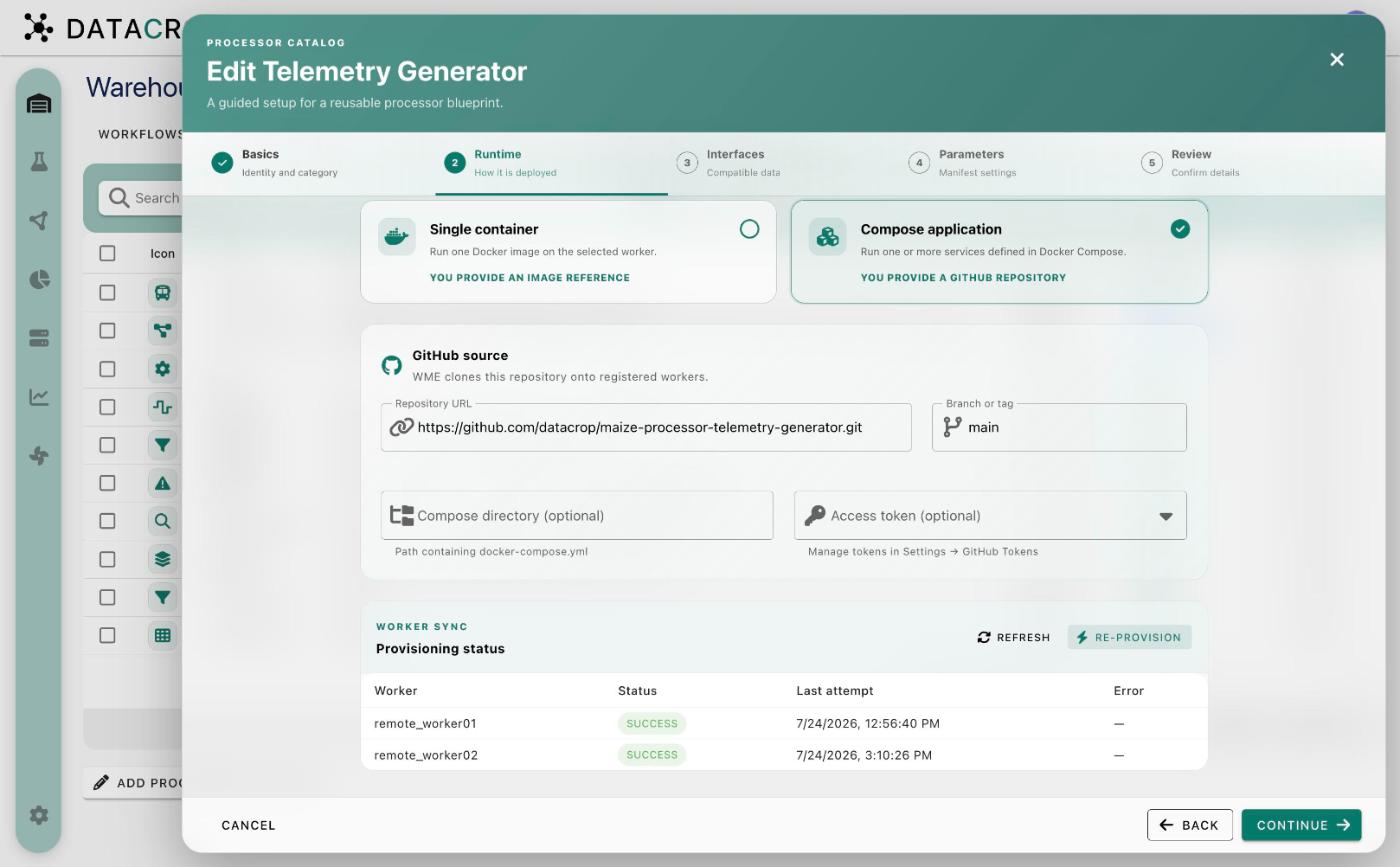
Open Warehouse → Workers. In the Provision workers from Celery panel, select the worker started by the MVP (queue remote_worker01 by default) and click Import selected. Then open Warehouse → Processor Definitions, open Telemetry Generator and check on the Runtime step that the provisioning status shows SUCCESS for your worker.
5. Create a Kafka topic resource
Warehouse → Digital Resources → Add Digital Resource:
- Name:
telemetry-raw, Data Interface Type:kafka - Click Use default WME instance to fill the bundled Kafka address, then set Topic to
telemetry-raw - Data Kind:
Telemetry Event, then Save
6. Build and run a workflow
- Warehouse → Workflows → Create New Workflow opens the Workflow Lab. On 1. Workflow Details give it a name (for example
Quickstart). - On 2. Flow Creator, drag Telemetry Generator and Stream Inspector from the Presets panel, and the
telemetry-rawresource from Digital Resources. - Connect Telemetry Generator → telemetry-raw → Stream Inspector.
- Double-click each processor and pick your worker in Worker Station. For Stream Inspector set Consumer group to any value (for example
quickstart). - Click Save, wait for the short countdown while Airflow loads the new DAG, then click Run.
7. Watch it run
- Lab → 3. Airflow Runs shows the deployment run and each step's log.
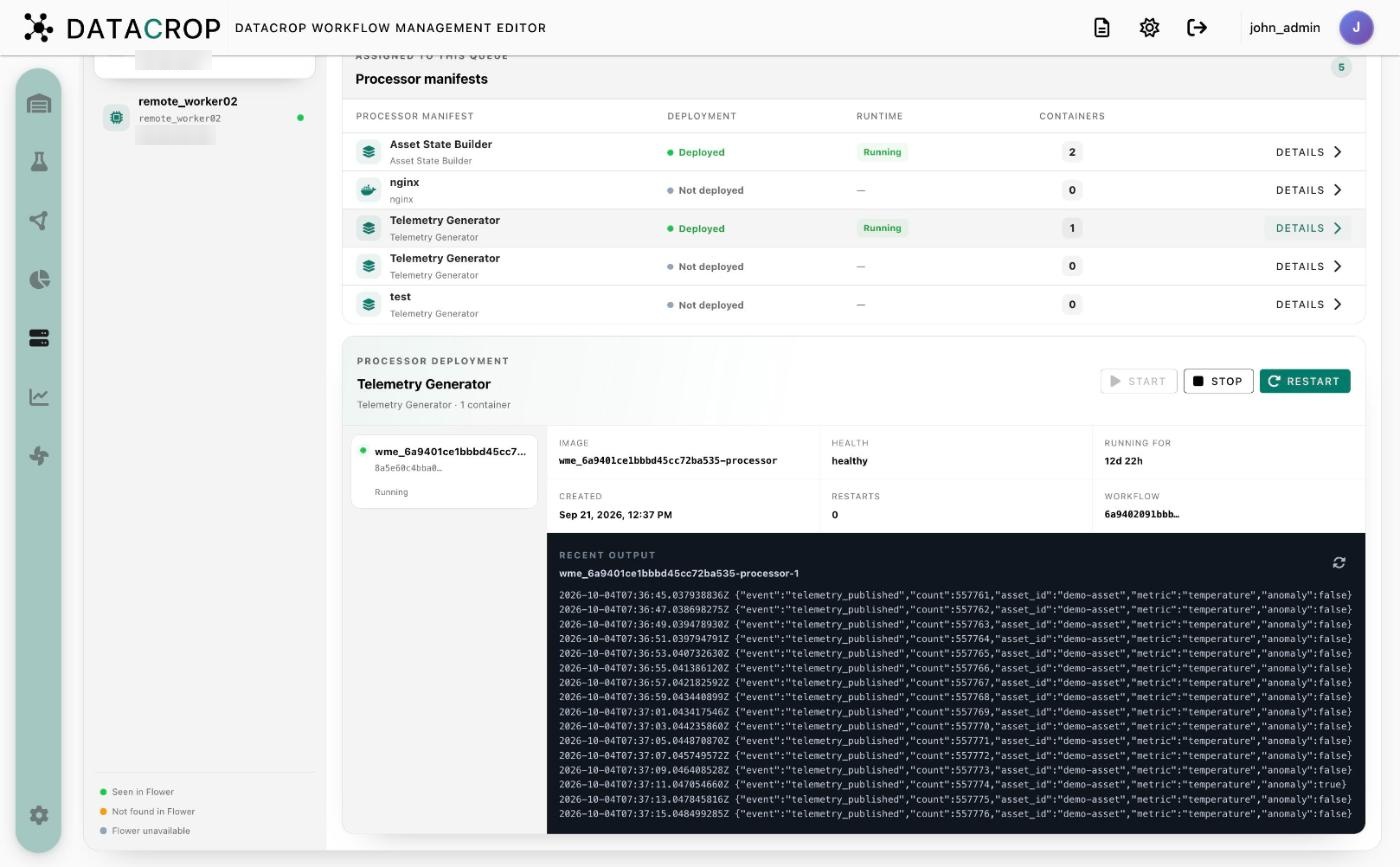
- Worker Runtime lists the two containers on your worker. Select Stream Inspector to see the records it reads in Recent output.
To stop the workflow, click Stop in the Lab (it runs the teardown DAG).
Next steps
- Do the longer walkthrough: Your first workflow.
- See your data in Kibana: Observe your data.
- Let the assistant draft a workflow: Build a workflow with the assistant.